To start the integration process, you should first create a Shogo account. You can do so from the shogo.io web page by selecting any of the trial start buttons, or Click Here. Shogo offers a two week free trial so you can use our app before committing. Please note that your trial will begin immediately upon signing up for your Shogo account. To take full advantage of the trial period, please ensure you have live POS sales data to process and a postable accounting system with a chart of accounts set up prior to starting your Free Two Week Shogo Trial.
You can have an unlimited number of stores and users within your Shogo account and you will be prompted later in the process to set up each store you have. You can also have an unlimited number of accounting companies or legal entities associated with a single Shogo account.
You will be prompted to input the high level information about you and your business - basically, how Shogo should identify you and your business. You will select your point of sale solution and actual store (or stores) after this step.
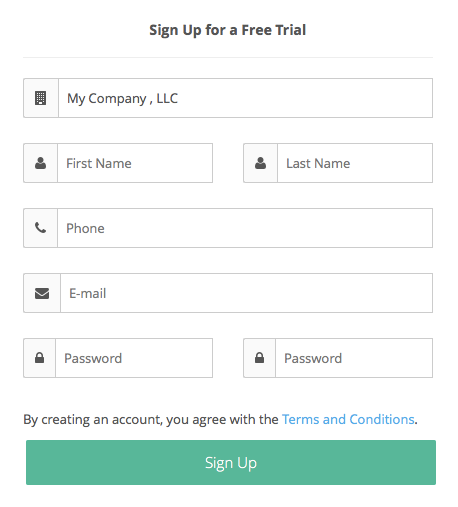
After creating your account, you will be prompted to set up your first store. Simply select the Point of Sale solution for your first store and follow the on-screen instructions to establish the connection between Shogo and your store's back office application. A unique email address is required for each user. For instructions on how to use subaddressing, please Click Here
Note that each POS has its own unique onboarding guide which you will see within Shogo during the one-time connection process. To access Shogo's library of onboarding guides outside of the Shogo App, please see Shogo POS Onboarding Guides.
Depending on your Point of Sale, your store(s) may have been created for you during the above step but if you have more stores to add, you may do so by navigating to:
Settings>Stores
Click the New Store button
Once your point of sale is connected, you can then connect to your accounting system.