Once you have connected your POS successfully, you can connect your Shogo account to your accounting system.
Setting up the QuickBooks Web Connector Process
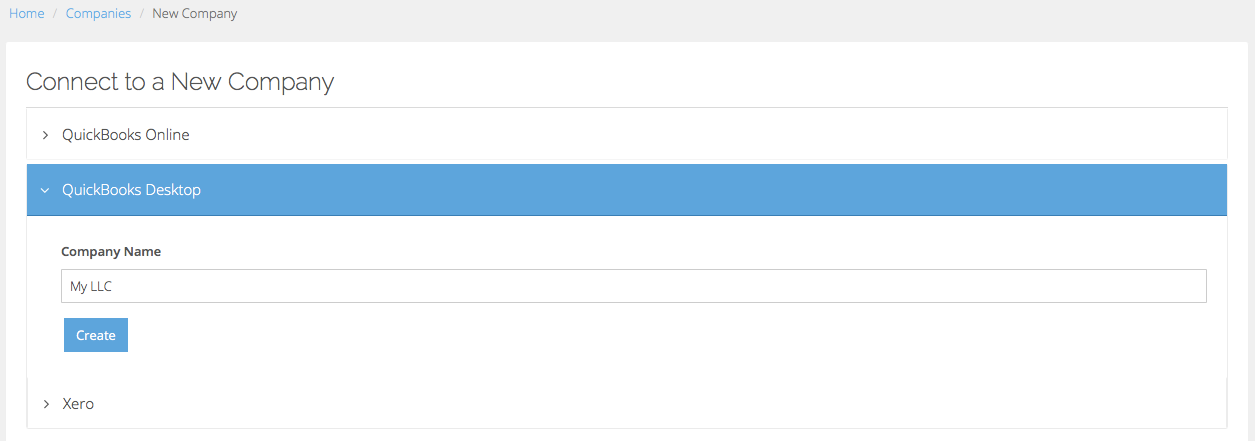
For QuickBooks Desktop, select the QuickBooks Desktop option.
Fill in the name of your QuickBooks Company (this does NOT need to match perfectly with your actual company name).
Setting up the Web Connector Process
Shogo exchanges data with QuickBooks Desktop via the QuickBooks Web Connector, which is a utility that is bundled with QuickBooks Desktop. To set up the Web Connector:
1. Download the (.QWC) configuration file for this company via the provided download link.
2. Open the appropriate company file in QuickBooks Desktop.
3. In QuickBooks Desktop, go to File -> Update Web Services. The QuickBooks Web Connector program will open.

4. Click the Add an Application button.

5. Choose the .QWC file that you just downloaded.
6. Click OK to authorize the new service.

7. Choose [Yes, always; allow access even if QuickBooks is not running] and click [Continue].

8. Enter your password: ***** and press the [Tab] key.

9. Click [OK] to save the password.
10. Click the [Update Selected] button to sync data with Shogo for the first time.
